Grid Trading Strategy: How Grid Bots Work and When to Use Them
A plain-English guide to grid trading: laddered buy and sell orders across a price range, why grids thrive in ranging markets, their trend risks, and how bots automate the process.
In this story
A grid trading strategy places a ladder of buy and sell orders at fixed intervals across a chosen price range, aiming to profit from repeated up-and-down swings. It buys lower, sells higher, and repeats automatically. Grids work best in sideways, ranging markets and struggle in strong, sustained trends.
What is a grid trading strategy?
A grid trading strategy divides a price range into evenly spaced levels and places buy orders below the current price and sell orders above it. As price oscillates, the grid captures small profits on each completed buy-low/sell-high cycle. It is a systematic, rules-based approach that removes discretionary timing.
Think of the grid as a set of rungs on a ladder. Each time price falls to a lower rung, the strategy buys; each time price rises to a higher rung, it sells the inventory it accumulated. The distance between rungs (the grid spacing) and the number of rungs define how frequently trades trigger and how large each profit increment is. Grid trading is a form of algorithmic trading because the entry and exit logic is fully predefined.
How does a grid trading bot work?
A grid trading bot automates the entire ladder: it calculates the levels, submits the orders, and re-arms each level after a fill without manual intervention. You define the upper and lower bounds, the number of grids, and the capital allocated, and the bot maintains the structure continuously while it runs.
Here is the typical flow:
- Define the range — set an upper price and a lower price you expect the asset to trade within.
- Choose grid density — decide how many levels (grids) to place between the bounds. More levels mean smaller spacing and more frequent, smaller trades.
- Allocate capital — the bot divides your funds across the buy levels.
- Place orders — limit buy orders sit below price, limit sell orders above it.
- Re-arm on fill — when a buy fills, the bot places a corresponding sell one level up; when a sell fills, it places a new buy one level down.
- Repeat — the cycle continues as long as price stays within range.
Because a grid is just a coordinated set of resting orders, it belongs to the same family as other crypto trading bots that manage order placement on your behalf. Many venues also expose a native grid order type alongside standard order types like limit, stop, and OCO.
When is grid trading most effective?
Grid trading is most effective in ranging, sideways markets where price oscillates within a fairly stable band without a strong directional bias. Choppy, mean-reverting conditions let the grid repeatedly buy low and sell high across many small cycles, which is exactly what the structure is designed to harvest.
Favorable conditions include:
- Range-bound assets trading between recognizable support and resistance.
- Moderate, consistent volatility that moves price across grid levels regularly.
- No dominant trend in either direction over your chosen timeframe.
The ideal environment is one where volatility is present but directionless. High volatility increases the number of level crossings (and potential profit events), while a lack of trend keeps price from escaping the range and leaving the grid stranded.
What are the risks of grid trading?
The main risk of grid trading appears in strong, sustained trends. If price breaks below your lower bound and keeps falling, the grid keeps buying into the decline and accumulates a losing position with unrealized drawdown. If price breaks above the upper bound, the grid sells out and stops participating in further upside.
Key risks to understand:
| Scenario | Effect on a grid |
|---|---|
| Ranging market | Ideal — repeated buy-low/sell-high cycles |
| Sustained downtrend | Buys keep filling into the fall; growing unrealized loss |
| Sustained uptrend | Inventory sells out early; misses further gains |
| Price exits the range | Grid stops working until price returns |
| Leverage applied | Amplifies both gains and losses; liquidation risk |
Mitigation tactics include setting a stop below the grid’s lower bound, sizing the range conservatively, and avoiding excessive leverage. A trailing stop or a hard stop can cap downside if price decisively breaks the range. Remember that a trigger or stop price is a threshold, not a guaranteed fill — in fast markets a market fill executes against available liquidity and can differ from the level you set.
Trading involves risk of loss. Leverage amplifies that risk, and backtested results do not guarantee future performance.
How do you set up and test a grid before going live?
Before committing capital, define the grid parameters, then backtest the logic on historical data to see how it would have behaved across ranging and trending periods. Reviewing metrics like the Sharpe ratio, maximum drawdown, and win rate helps you judge whether the range and spacing are realistic.
A disciplined setup process looks like this:
- Pick the range from historical support/resistance, not hope.
- Choose spacing that balances trade frequency against fees.
- Backtest across different regimes to expose trend weakness. Our guide on how to backtest a trading strategy covers the workflow.
- Read the metrics — learn what Sharpe ratio, max drawdown, and win rate actually tell you.
- Start small and monitor before scaling.
How does Hey-Traders make grid trading accessible?
Hey-Traders lets you describe a grid strategy in plain English, then converts it into executable code, backtests it on historical data with professional metrics, and can place the orders automatically on connected venues once you enable trading permissions. No coding is required.
With Hey-Traders you can:
- Describe your range, grid count, and capital in natural language instead of code.
- Backtest the strategy and review the equity curve, Sharpe ratio, MDD, and win rate.
- Generate live signals and, with permission, execute using supported order types including grid, limit, stop, OCO, and trailing stop.
- Connect to supported venues such as Binance, Bybit, OKX, Hyperliquid, and Polymarket, subject to venue support and your permissions.
This no-code approach means the strategy logic stays transparent and testable while the platform handles order placement. If you trade prediction markets, see how a Polymarket grid order applies the same laddering idea to event contracts.
Frequently Asked Questions
What market conditions are best for grid trading?
Ranging, sideways markets with moderate but directionless volatility are ideal. The grid needs price to oscillate within its bounds so it can repeatedly buy low and sell high. Strong sustained trends are its main weakness.
Can grid trading lose money?
Yes. If price breaks below the grid’s lower bound in a sustained downtrend, the bot keeps buying into the decline and accumulates unrealized losses. Leverage amplifies this risk, and no strategy guarantees profit.
Do I need to code to run a grid bot?
No. With Hey-Traders you describe the grid in plain English, and the platform converts it to executable code, backtests it, and can execute on connected venues once you enable trading permissions.
How many grid levels should I use?
There is no universal number. More levels mean tighter spacing, more frequent trades, and smaller per-trade profits (with more fees); fewer levels mean wider spacing and larger increments. Backtesting different densities helps you choose.
Is a grid order the same as a limit order?
A grid is a coordinated set of limit orders arranged across a range with re-arming logic. Each individual rung is effectively a limit order, but the grid manages them together as one strategy.
Ready to test a grid without writing a line of code? Describe your strategy in plain English, backtest it on real data, and see the metrics for yourself with Hey-Traders.
One last thing
Was this story helpful?
Your perspective helps us improve our guides.
No sign-in needed. An anonymous session remembers your response on this browser. Privacy
A little more perspective.
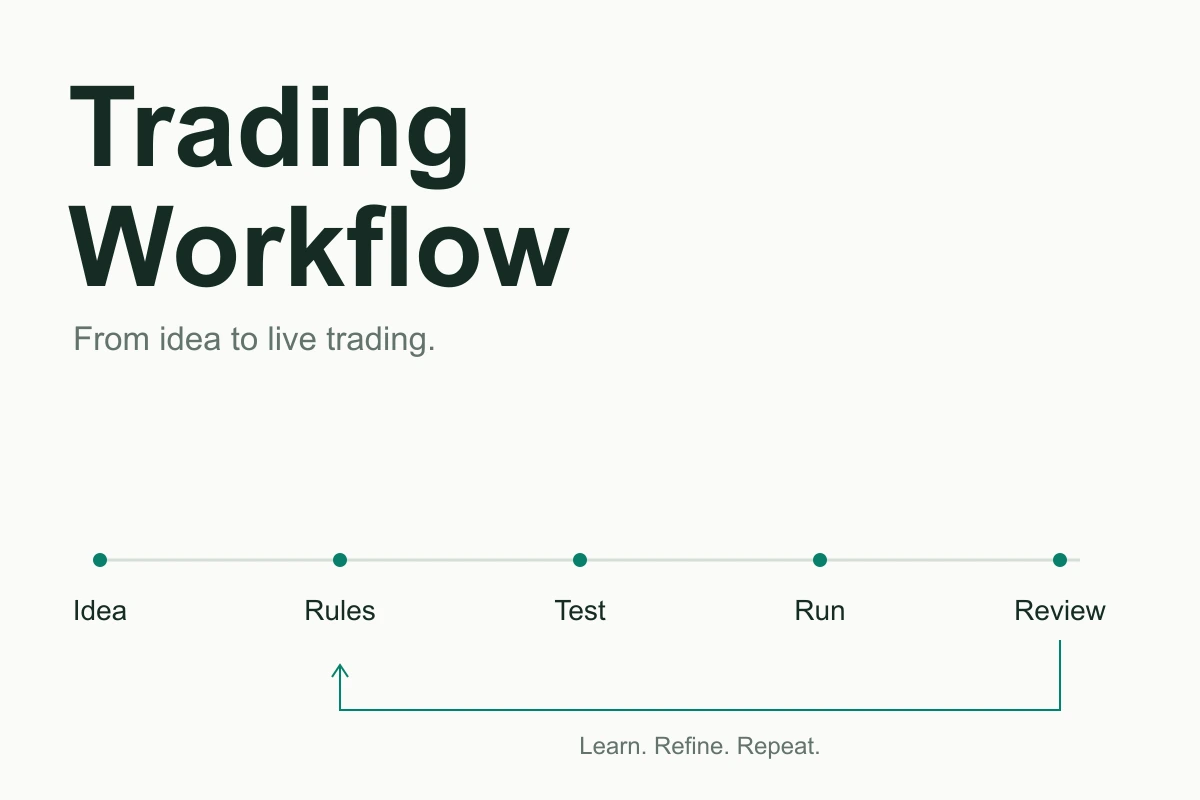
Crypto Trading Workflow: From Idea to Live Trading
Follow one trading idea from a written hypothesis to tested rules, paper observations, live orders, and the next strategy version.
AI Trading Bot Platforms: How to Choose Trading Software
A bot that can place an order is only part of the decision. Follow one strategy from idea to monitored live execution before choosing an automated trading platform.

What Is Algorithmic Trading? A Beginner's Guide to Algo Trading
Algorithmic trading uses pre-defined rules to place and manage orders automatically. Here's how algo trading works, its pros and cons, and how to start without code.